
Why Stablecoin Bridging Matters More Than Ever
Stablecoins stopped being “just dollar tokens” the moment DeFi went multichain. Today, yields, airdrops and new protocols often launch on networks where you don’t yet hold liquidity. That’s why learning how to bridge USDC and USDT safely is almost as important as learning how to use a wallet at all. The trick is not just moving coins from A to B, but understanding what exactly you’re moving: canonical tokens, wrapped assets, or synthetic IOUs that only look like the real thing at first glance.
Beyond simple cost and speed, a good cross‑chain strategy reduces smart contract risk, avoids fake tokens, and keeps you flexible when one network gets congested or fees spike. In other words, bridging is about risk management as much as it is about convenience. Let’s walk through practical, step‑by‑step options, highlight typical traps, and add a few unconventional setups that advanced users quietly rely on when public bridges are clogged or down.
—
Step 1: Understand What “Bridge” Actually Means
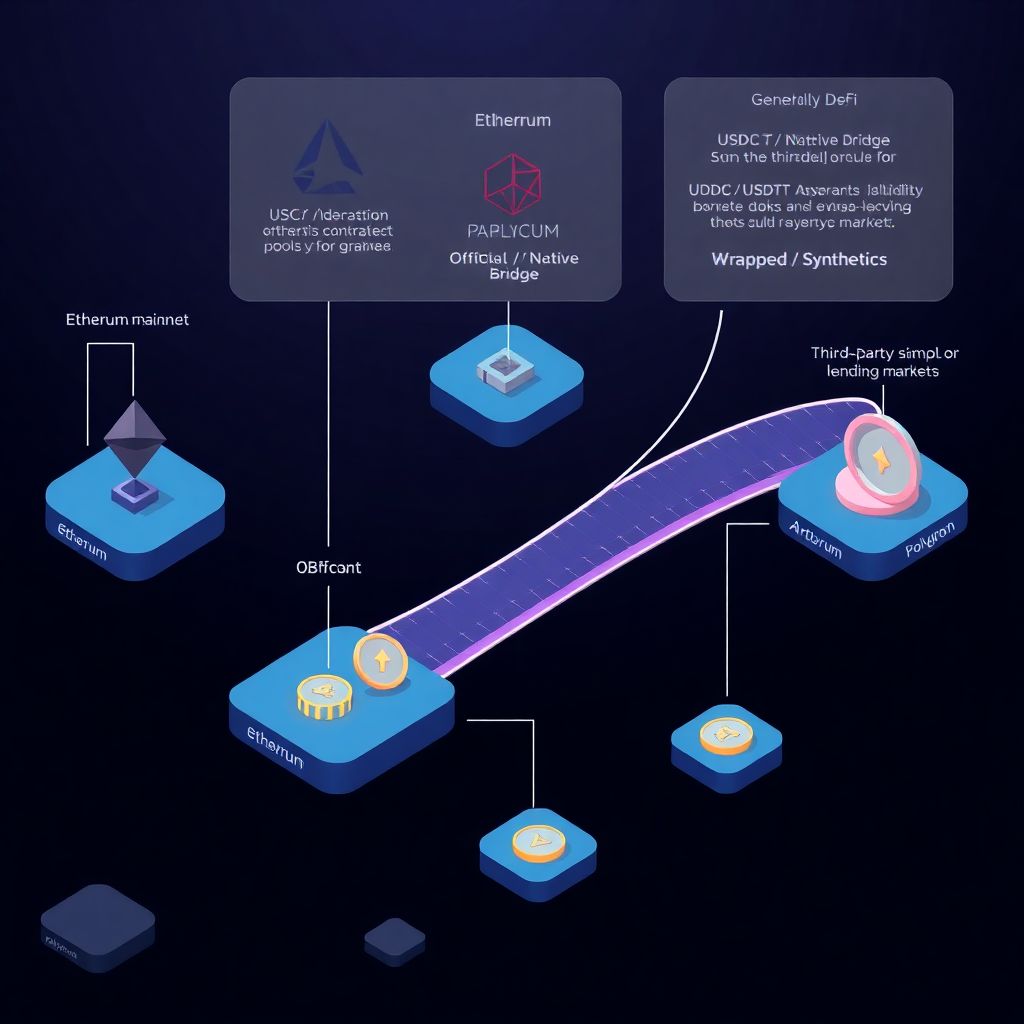
Most beginners imagine a literal transfer: tokens leaving one chain, appearing on another. In practice, a stablecoin bridge usually locks your asset in a smart contract on the origin chain, then issues a representation on the destination chain. Sometimes that representation is the “official” token, sometimes a wrapped version. With USDC and USDT, you must always ask: is this the canonical contract, or a bridged derivative that depends on third‑party logic? Checking the token contract before you bridge reduces surprises later.
On Ethereum mainnet, USDC and USDT addresses are well known and widely indexed by explorers and wallets. On new chains, you’ll often see several “USDC” tokens with different contract addresses, all with similar icons and names. Only one of them is actually issued by Circle, the others are bridged variants. Confusing them can lock you into a small liquidity pool or force you to pay extra to swap into the real thing. A few seconds of research saves you from expensive unwinding trades.
—
Step 2: Use Native and Official Bridges When Possible
If your goal is to bridge usdc between chains that are officially supported by Circle or a chain’s own canonical bridge, that route is usually the lowest‑risk. For example, native USDC is now available on many L2s and sidechains, often with an official bridging mechanism integrated directly into their ecosystem. These bridges are boring by design: fewer incentives, less gamification, more focus on security and predictable behavior over years rather than weeks.
When working with USDT, the picture is a bit messier, because Tether has a longer list of supported networks and histories of legacy tokens on some chains. Still, the idea stands: look first for bridges maintained or endorsed by the team behind the chain or the stablecoin issuer. They are not immune to bugs, yet they tend to be more carefully audited and better monitored than short‑lived yield‑focused alternatives. For disciplined capital, boring is often the new alpha.
—
Step 3: Practical Walkthrough – How to Bridge USDT to Arbitrum
If you want to learn how to bridge usdt to arbitrum without overcomplicating the process, start with the official Arbitrum Bridge. You connect your wallet, select Ethereum as the source and Arbitrum One as the destination, choose USDT, and confirm a standard token approval followed by the bridge transaction. The gas fee is paid on Ethereum, so check ETH balance before you begin. After the transaction confirms, your USDT appears on Arbitrum within minutes.
Once funds land on Arbitrum, test them in a small trade on a major DEX like Uniswap or a blue‑chip lending market. This quick “live‑fire” test ensures that you’re interacting with the broadly used USDT contract, not some obscure bridged version with thin liquidity. If something looks off – tiny liquidity, weird price impact, lack of integration in major protocols – pause and verify the token address before committing more capital. This small ritual prevents headaches later.
—
Step 4: Optimize Costs – Cheap USDC Bridge from Ethereum to Polygon
Gas on Ethereum can burn through small balances, so finding a cheap usdc bridge from ethereum to polygon is about more than picking a random third‑party app. Polygon’s own PoS bridge works reliably but can be costly when mainnet is congested. To reduce cost, time transfers for quieter blocks, use a gas estimator, and avoid unnecessary approvals by reusing existing allowances where you trust the contract. Fees saved here compound over months of active usage.
An unconventional but effective tactic is to split your process: instead of a direct USDC bridge, some traders temporarily move value as ETH, MATIC, or another highly liquid asset, then swap to USDC on the destination chain where swaps are cheaper. This only makes sense if price volatility during the transfer window is acceptable for you. It’s not fully “stable,” but when you quantify both gas and slippage, this hybrid route can outperform classic stablecoin‑only bridges for active users with flexible risk tolerance.
—
Step 5: Choose the Right Cross‑Chain Stablecoin Bridge (Risk vs. Convenience)
If you want a cross chain stablecoin bridge no kyc, the market is full of permissionless protocols and routers that aggregate multiple underlying bridges. These are convenient: one interface, many chains, and often better routing for odd pairs. The trade‑off is added smart contract complexity and reliance on third‑party liquidity providers. A single bug in any aggregated route can cause issues, even if the app itself has a nice UI and strong branding.
The best stablecoin bridge for usdc and usdt depends on what you value most. If your priority is safety, stick with native bridges and a handful of long‑standing third‑party solutions with public audits, bug bounties and a clean incident history. If you value speed and exotic chain coverage, you may accept more contract and liquidity risk. Approaching bridges like a credit analyst – looking at track record, TVL stability, governance and upgrade policies – is far more productive than chasing the loudest marketing campaign.
—
Step 6: A Step‑by‑Step Checklist for Every Bridge Transaction
1. Verify token contracts on both origin and destination chains via official docs or reputable explorers.
2. Start with a tiny test transaction to confirm the route, the bridge, and the destination address.
3. Double‑check network selections in your wallet; sending to the wrong chain label is still a common error.
4. Monitor fees and adjust gas to avoid stuck transactions; underpaying can be as bad as overpaying.
5. Confirm that your bridged tokens appear under the correct contract and work on at least one major DEX.
6. Record the bridge transaction hash and bookmark any explorer pages you may need for support.
7. If the bridge supports message passing or extra features, disable them unless you fully understand the mechanics.
8. After a successful test, scale position sizes gradually instead of jumping straight to large transfers.
9. Revoke unnecessary token approvals periodically to limit your exposure if a bridge contract is later exploited.
10. Keep a written playbook of bridges you trust, including notes on past experiences and unusual behavior.
—
Non‑Obvious Mistakes and How to Avoid Them
Bridging stablecoins tempts users into a false sense of security: “It’s just dollars; what could go wrong?” In reality, many losses come from human error rather than exotic hacks. Mixing up similarly named tokens, rushing during high gas periods, or bridging to a wallet you can’t access on the destination chain are all textbook issues. Another frequent oversight is ignoring the minimum transfer limit; small transfers can get eaten almost entirely by fees if you don’t calculate beforehand.
Liquidity fragmentation is another subtle trap. You might successfully bridge a lesser‑known version of USDC to a sidechain, only to realize that popular DeFi protocols there support a different variant. Swapping between those versions costs time and slippage. To avoid this, always check which stablecoin contracts major local protocols use before bridging. In practice, you don’t just bridge tokens; you bridge into specific liquidity venues. Think like a trader plotting exits, not just an operator pressing buttons.
—
Advanced and Unconventional Strategies

One unconventional yet powerful approach is the “cross‑chain stablecoin basket.” Instead of moving only USDC or USDT, you maintain a mix: part on Ethereum, part on an L2, a portion on a high‑throughput sidechain, and a sliver on a fast‑finality chain. When an opportunity arises, you’re already present on the relevant network and only need to rebalance, not perform a full bridge under time pressure. This transforms bridging from a panic move into calm portfolio maintenance.
Another underused tactic is treating bridges themselves as risk assets. Some protocols issue tokens that track the economics of the bridge or provide incentives for liquidity providers. By allocating a small, clearly defined slice of your capital to these higher‑risk tokens, you separate “infrastructure speculation” from your core stablecoin holdings. The stablecoins remain conservative and mobile, while the more experimental exposure sits in a different mental and on‑chain bucket, simplifying risk accounting.
—
Tips for Newcomers Before Their First Bridge
If you’re new and feel overwhelmed, slow down. Before touching any bridge, become fully comfortable sending tokens within a single chain, reading explorer pages, and confirming addresses character by character. Treat the first few cross‑chain moves as paid training, not as profit opportunities. Small “tuition fees” in gas and time are cheaper than one catastrophic mistake caused by copying a fake link or misreading a network selection in your wallet.
Always type bridge URLs from official documentation or use trusted aggregators; never follow random search ads or social media links. Bridges are prime targets for phishing clones, precisely because users expect to paste addresses and confirm approvals quickly. If a site pressures you with countdowns, mystery rewards, or asks for seed phrases, exit immediately. Real infrastructure rarely screams for your attention; it just quietly does its job. Let that principle guide which tools you adopt.
—
Closing Thoughts: Make Bridging Boring Again
The more you treat stablecoin bridging as routine infrastructure rather than a thrill ride, the safer and more efficient your on‑chain life becomes. Tools will evolve, new networks will come and go, and fees will fluctuate, but the core habits remain stable: verify contracts, test in small size, understand what’s being bridged, and keep records. Stability in process is what turns volatile crypto environments into an environment you can navigate with a clear head.
USDC, USDT and other stablecoins are powerful precisely because they travel well, but you decide whether that travel route is a quiet commuter line or a chaotic detour through unvetted experiments. Build your own shortlist of trusted bridges, refine it with experience, and don’t hesitate to ignore noisy hype cycles. When bridging becomes the least exciting part of your strategy, you’ll know you’ve finally set it up the right way.